
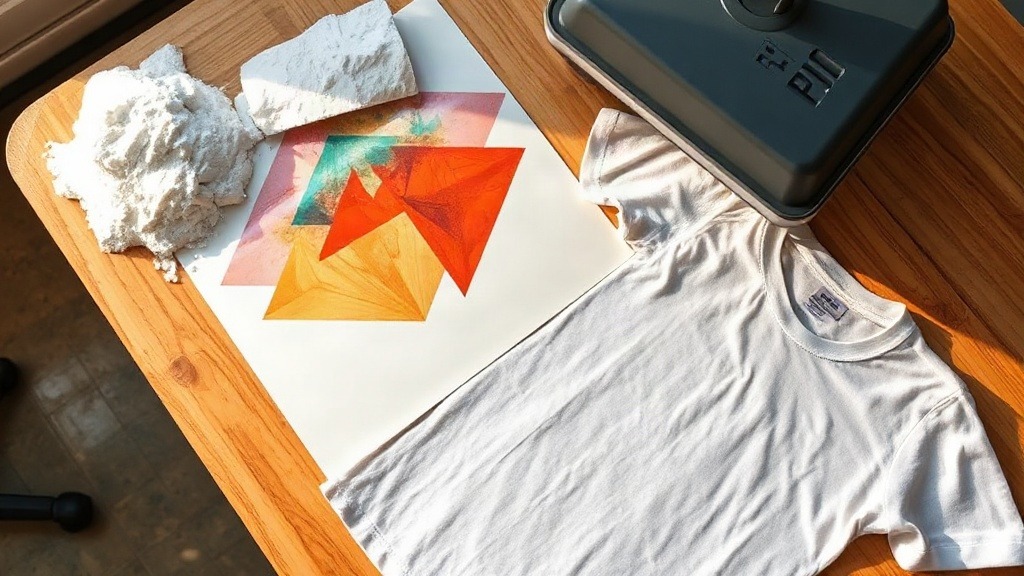
When a customer walks in with a phone photo of their kid's soccer team logo and asks for twelve shirts by Friday, the old choices were grim: expensive screen setup, a heat transfer vinyl weeding marathon, or an awkward conversation. DTF printing solved most of that. Direct-to-film lets you print a full-color design onto a special film, dust it with adhesive powder, cure it, and press it onto almost any fabric. No color separation, no weeding tiny letters, no minimum order from a screen printer. That flexibility is why so many small shops have added it in the last few years, and why the learning curve still trips people up in the first month.
What DTF Actually Is, and Where It Fits
A DTF transfer is a printed image plus a thermoplastic adhesive layer. You print with pigment inks onto a PET film, apply hot-melt powder while the ink is still wet, shake off the excess, and cure the powder until it gels. The result is a flexible, stretchy transfer that bonds to cotton, polyester, blends, canvas, and even some nylon. It is not the same as sublimation, which needs light polyester and leaves no hand feel, and it is not DTF-UV, which cures to a raised, glossy film better suited to hard goods.
Where DTF shines is variety. One sheet can carry twelve different designs in twelve different color counts, and you press them one at a time. For a shop doing bachelorette parties, gym teams, and small business merch in the same week, that beats juggling three processes.
When another method makes more sense
If you are running 500 identical one-color shirts, screen printing will still cost less per piece. If the garment is 100% polyester performance wear and you want zero hand feel, sublimation wins. If the design is a single name on a nylon jacket, vinyl is fine. DTF earns its place in the messy middle: full color, small quantities, mixed fabrics, fast turnaround.
The Equipment You Actually Need
You can spend a few thousand dollars or a few hundred. Both can work, but the cheap route demands more patience.
- Printer. A dedicated DTF printer with a white ink channel and a recirculation system, or a converted eco-solvent or pigment printer with a proper RIP. The white channel matters because without it you cannot print on dark garments.
- Film. Double-sided matte PET in 60 to 100 micron thickness. Thinner film conforms better around seams; thicker film feeds more reliably in some printers.
- Powder. Thermoplastic polyurethane hot-melt powder, usually 80 to 200 micron. Finer powder gives a softer hand feel but is fussier to apply evenly.
- Curing. A dedicated powder shaker and oven, or a heat gun and a lot of practice. Uneven curing is the number one cause of transfers cracking after five washes.
- Press. A swing-away or clamshell heat press with accurate temperature and even pressure. A cheap press with cold spots will ruin good transfers.
Humidity and temperature control
Pigment ink and powder both hate damp air. If your shop sits at 70% relative humidity, you will see clumping, poor powder adhesion, and inconsistent white opacity. A small dehumidifier near the printer costs less than a ruined roll of film.
Getting the Print Settings Right
Every printer, film, and powder combination behaves a little differently, so treat published settings as a starting point, not gospel. Print a test sheet with a color chart, small text, and a gradient, then press it onto a scrap shirt and wash it three times before you trust the setup.
Three variables drive most quality problems:
- Ink layering. White ink needs enough passes to be opaque but not so many that it cracks. Most shops land between 60% and 80% white density under color.
- Powder coverage. You want an even, thin layer across the whole wet image. Too little and the edges lift; too much and the transfer feels like sandpaper.
- Cure time. Powder should turn from a matte dust to a slightly glossy, gelled surface. If it still looks powdery, it is undercured and will fail in the wash.
Press settings that hold up
For most cotton and blends, 320 to 340 degrees Fahrenheit for 15 to 20 seconds with medium to firm pressure works. Peel cold or warm depending on your film, and always press a second time with a cover sheet for 5 to 10 seconds to lock the edges. That second press is the difference between a transfer that lasts 20 washes and one that peels at the corner on the third.
Common Mistakes New Shops Make
The first month of DTF production is usually a series of small, fixable failures. Here are the ones I see most often.
- Printing on the wrong side of the film. Matte side takes ink, glossy side does not, and the mistake is invisible until you press it.
- Letting printed film sit too long before powdering. Once the ink skins over, powder will not bond.
- Storing uncured transfers in a humid room. They absorb moisture and press poorly weeks later.
- Using too much pressure on the press. It flattens the ink and pushes the transfer into the fabric weave, which looks fine until the first wash.
- Skipping the stretch test. Pull a cooled transfer gently. If it cracks instead of stretching, adjust your ink layering or cure.
Pricing and Profitability Basics
Material cost per A4 or A3 sheet is easy to calculate: film, ink, powder, and a small allowance for waste. Add your press time, which is usually 45 to 90 seconds per shirt including placement and the second press. Then decide whether you charge per transfer or per garment. Most small shops price per garment because customers understand it, but quote larger orders per transfer to stay competitive.
The hidden cost is rework. If one in ten shirts comes back because the transfer peeled, your margin disappears. Spending an extra ten seconds on the second press is cheaper than a remake.
Gang sheets and waste reduction
Nest small logos on one film to cut waste, but leave at least a quarter inch between images so powder does not bridge them. Keep a running file of your most-ordered designs so you can reprint a single transfer without redoing the layout.
Frequently Asked Questions
Can DTF transfers be pressed onto 100% polyester?
Yes, and they generally bond well. Use a slightly lower press temperature, around 300 to 320 degrees Fahrenheit, because polyester can scorch or glaze at higher heat. Test on a scrap piece first, especially with performance fabrics that have a slick finish.
How long do DTF transfers last in the wash?
A properly cured transfer on cotton typically survives 30 to 50 home washes when turned inside out and washed cold. Failures almost always trace back to undercuring, too much powder, or skipping the second press.
Do I need a dedicated DTF printer, or can I convert an existing one?
Conversions are possible with pigment and eco-solvent printers that have a white ink channel and a suitable RIP. They can work well, but expect more maintenance: daily agitation, frequent head cleanings, and careful ink management. A dedicated DTF printer reduces that friction if volume justifies it.
Why is my white ink not opaque enough?
Usually it is one of three things: too few white passes in the RIP, film printed on the glossy side, or powder applied too thinly. Increase white density in small steps, verify the film orientation, and check that the powder fully covers the wet ink before curing.
How should I store unused transfers?
Keep them flat, in a sealed bag or container, away from sunlight and humidity. Properly cured transfers stored this way hold up for months. If they feel tacky or curled, they have absorbed moisture and should be dried briefly before pressing.