
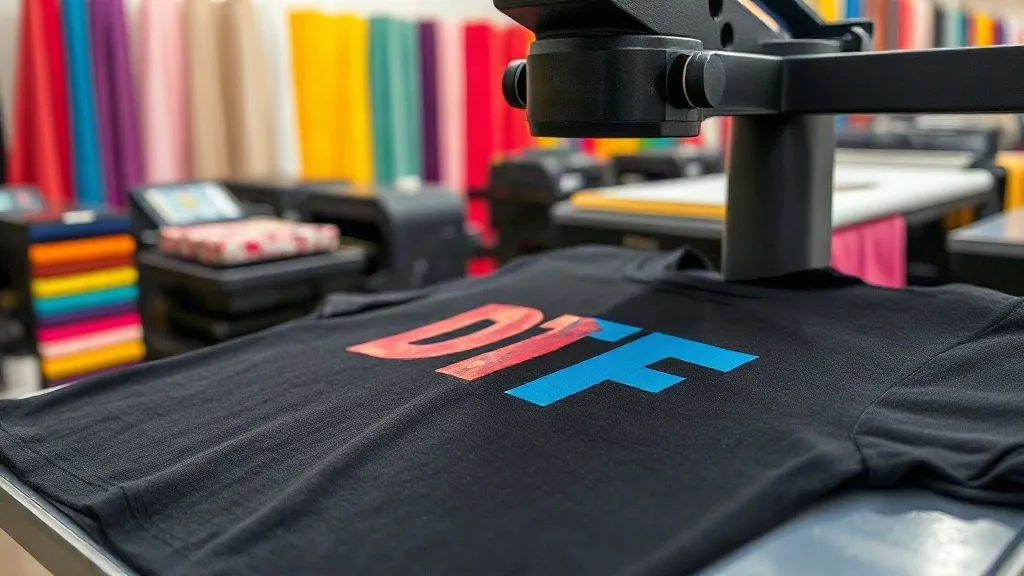
You've dialed in your printer, your color profiles are on point, and your designs look crisp on screen. But when you press that dtf transfers onto a shirt, something goes wrong: the edges lift, the print feels plasticky, or worse, it peels off after a few washes. Pressing is the final frontier of DTF success, and it's where many shops stumble. This guide dives into the most common pressing problems and how to fix them, so you can achieve professional, durable results consistently.
Why Pressing Matters More Than You Think
DTF transfers rely on a thermoplastic adhesive powder that melts and bonds with the fabric under heat and pressure. Unlike screen printing or vinyl, the bond is mechanical, not chemical. That means the entire relationship between the transfer and the garment hinges on how well you control temperature, pressure, and time. Even a perfect print can fail if the press is off by a few degrees or if the pressure is uneven. Understanding the variables is the first step to troubleshooting.
Common Pressing Issues and Their Fixes
1. Poor Adhesion: Edges Lifting or Print Peeling
You press the transfer, peel the film, and the edges curl up or the whole design lifts after a wash. This is the most frequent complaint, and it usually stems from insufficient heat, pressure, or time.
- Check your temperature: Most DTF powders require 300-330°F (150-165°C). Use an infrared thermometer to verify your press's actual platen temperature; the dial can be off by 10-20 degrees.
- Increase pressure: You need firm, even pressure. Medium to heavy pressure is typical, but ensure the press is properly calibrated. A pressure test with a piece of carbon paper can reveal uneven spots.
- Extend dwell time: Start with 10-15 seconds for the transfer, but some fabrics and powders need up to 20 seconds. If edges still lift, try a second press for 5 seconds after peeling.
- Pre-press the garment: Moisture is the enemy. Pre-press for 5-10 seconds to remove wrinkles and moisture, which can create steam and prevent proper bonding.
If you've addressed these and still have issues, consider the powder itself. Low-quality or expired powder may not melt properly. Also, ensure the transfer is completely cool before peeling if using a cold peel variant; for hot peel, peel immediately.
2. Scorching or Discoloration
You notice a yellow or brown tint on the fabric around the print, or the print itself looks burnt. This is scorching, caused by excessive temperature or prolonged exposure.
- Lower the temperature: Reduce platen temp by 10°F increments until scorching stops. Remember that dark fabrics absorb more heat and may scorch faster.
- Use a protective sheet: A Teflon sheet or parchment paper between the press and the transfer can distribute heat more evenly and prevent direct contact scorching.
- Shorten dwell time: If you're pressing for 20 seconds, try 12-15 seconds. You can always do a second short press if needed.
- Check fabric content: Polyester and blends are more heat-sensitive. For these, use lower temps (around 280-300°F) and test on a scrap first.
Scorching can also occur if the press is left idle at high temperature and then used without a warm-up cycle. Always allow the press to stabilize.
3. Cold Peel Problems: Print Cracking or Sticking
Cold peel transfers require the film to cool completely before peeling. If you peel too soon, the adhesive may string or the print may crack. Conversely, if you wait too long, the film can become brittle and difficult to remove.
- Let it cool naturally: Remove the garment from the press and wait until it's cool to the touch (about 1-2 minutes). Don't rush with a cold fan, which can cause uneven cooling.
- Peel at a low angle: Peel the film back slowly at a 180-degree angle, keeping it close to the fabric. This prevents stretching the print.
- If cracking occurs: The print may not have bonded fully. Try increasing pressure or dwell time slightly. Also, ensure the fabric is completely flat; wrinkles can cause uneven pressure.
For cold peel, a common mistake is pressing the transfer twice. Usually, one press is sufficient. If you must re-press, use a Teflon sheet and reduce time.
4. Print Looks Dull or Patchy
The transfer appears cloudy, or the colors look muted after pressing. This can be due to under-pressing (adhesive not fully melting) or over-pressing (adhesive spreading too thin).
- Ensure even pressure: Check for high spots on the platen or worn press pads. Replace if necessary.
- Adjust temperature: If the print looks dull, try increasing temp by 5-10°F. If it looks glossy but patchy, reduce temp slightly.
- Use the right film: Some films are designed for hot peel, others for cold. Using the wrong peel method can affect appearance.
- Check powder application: Uneven powder can cause patchiness. Shake off excess powder gently before curing.
5. Transfer Sticking to the Press or Teflon Sheet
Sometimes the transfer adheres to the upper platen or the protective sheet, ruining the print and making a mess.
- Use a release sheet: Always place a Teflon sheet or parchment paper over the transfer before pressing. This prevents sticking and protects your press.
- Reduce pressure: Excessive pressure can force adhesive through the film. Try medium pressure.
- Check for powder on the film edges: Excess powder can melt and stick. Wipe the edges of the transfer before pressing.
Preventive Maintenance for Consistent Results
To avoid pressing issues altogether, establish a routine:
- Calibrate your press regularly: Use a heat gun or infrared thermometer to verify temperature accuracy. Adjust as needed.
- Keep the platen clean: Adhesive residue can build up and cause uneven pressure or sticking. Clean with a press cleaner daily.
- Store transfers properly: Humidity and dust can affect performance. Keep transfers in a cool, dry place in sealed bags.
- Test new materials: Whenever you switch to a new fabric, powder, or film, run a test press on a scrap piece.
For those searching for dtf transfers near me, local suppliers often provide guidance on pressing parameters specific to their products. Don't hesitate to ask for their recommended settings.
When to Adjust Your DTF Workflow
If you're consistently fighting pressing issues, it might be time to review your entire workflow. Are you using the right dtf film for your press? Is your powder fresh? Are you storing transfers correctly? Sometimes the problem isn't the press but the materials. For example, some films require a hot peel, while others are cold peel. Using the wrong method can lead to poor adhesion. Also, consider the fabric: 100% cotton presses differently than polyester blends. Always test and document your settings for each combination.
Frequently Asked Questions
Why do my DTF transfers peel after washing even though they looked fine initially?
Peeling after washing usually indicates insufficient bonding during pressing. The adhesive didn't fully penetrate the fabric fibers. Check your temperature, pressure, and dwell time. Also, ensure you pre-pressed the garment to remove moisture. If using cold peel, make sure you allowed it to cool completely before peeling. Additionally, washing inside-out in cold water and avoiding fabric softener can extend the life of the print.
Can I press DTF transfers onto heat-sensitive fabrics like nylon or spandex?
Yes, but with caution. These fabrics require lower temperatures (around 280°F) and shorter dwell times to avoid melting or scorching. Use a Teflon sheet and consider a lower-pressure setting. Always test on a small area first. Some manufacturers offer low-temperature DTF powders specifically for heat-sensitive materials.
How do I know if my press is applying even pressure?
Perform a pressure test using carbon paper or a pressure-sensitive film. Place it on the platen, close the press, and inspect the imprint. It should be uniform across the entire area. If not, adjust the pressure knob or check for worn parts. Uneven pressure is a common cause of patchy adhesion.
What's the ideal temperature for pressing DTF transfers on cotton vs. polyester?
For 100% cotton, 320-330°F is typical. For polyester, lower to 300-310°F to prevent dye migration and scorching. Blends fall in between. Always follow the transfer supplier's recommendations, as powder formulations vary. Using an infrared thermometer to verify actual platen temperature is crucial.
Why does my transfer look glossy or have a plastic feel after pressing?
Glossiness often results from over-pressing: too much heat, pressure, or time causes the adhesive to spread too thin and the film to embed deeply. Try reducing temperature by 5-10°F or shortening dwell time. Also, ensure you're using the correct peel method (hot vs. cold) as specified for your film. A Teflon sheet can also help distribute heat more evenly and reduce gloss.