
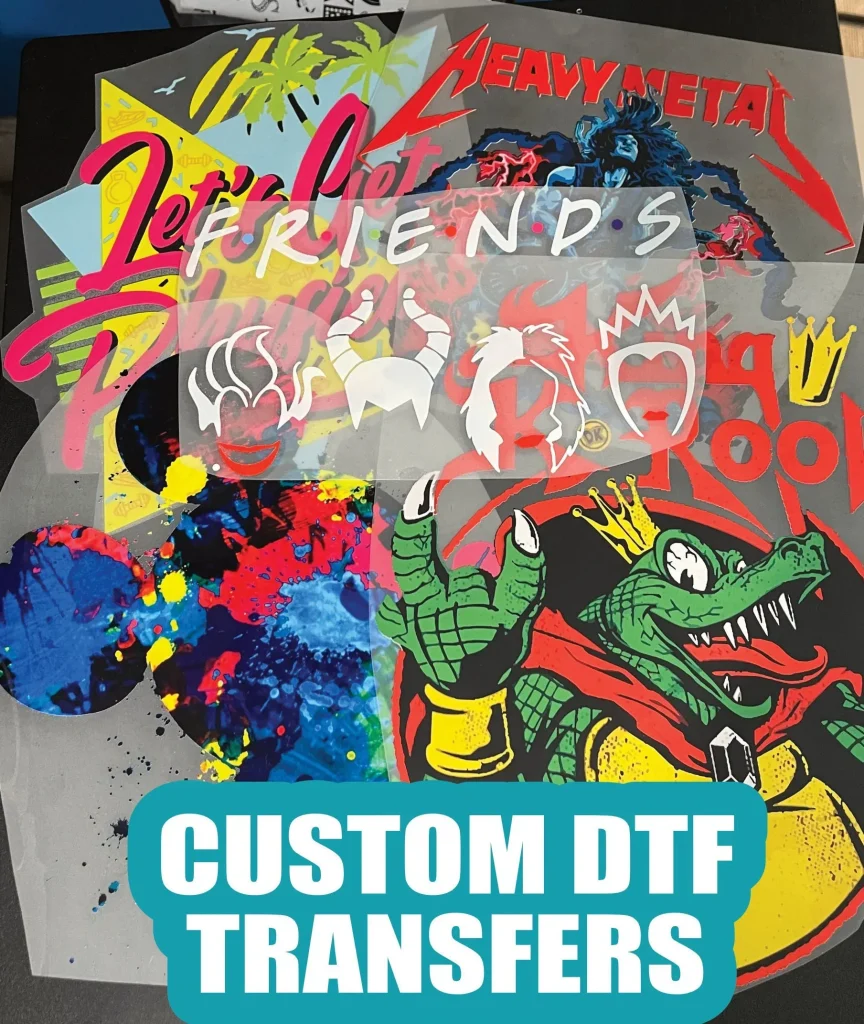
DTF transfers, or Direct to Film transfers, have revolutionized the way we approach custom printing at home. This exciting method allows crafters and DIY enthusiasts to create vibrant, durable designs that can easily be applied to a variety of fabrics. Whether you are a novice or a seasoned printer, understanding how to create DTF transfers can elevate your projects to new heights, opening the door to stunning DTF designs that catch the eye. With just a few materials and the right techniques, DTF printing at home can transform your apparel and crafts into personalized masterpieces. Dive into the world of crafting DTF transfers with this practical guide, and unleash your creativity like never before!
When it comes to customizing garments and fabric items, Direct to Film printing offers a modern solution that caters to both hobbyists and small business owners. This innovative technique, also known as DTF printing, utilizes a straightforward process that translates intricate designs into eye-catching prints suitable for various surfaces. The allure of DIY DTF transfers lies in the ability to achieve professional-quality results without the traditional hurdles of screen printing or vinyl applications. By mastering DTF transfer creation, you can bring unique visuals to life and explore your artistic capabilities. Join us as we delve into the essentials of this fascinating craft and learn how to harness the potential of DTF technology.
The Basics of DTF Printing
DTF printing, or Direct to Film printing, is a modern method that allows individuals to create vivid designs that can be transferred onto a variety of fabrics. This process is gaining popularity due to its ease of use and the quality of prints it produces. Unlike traditional screen printing, DTF utilizes specialized films and inks that offer the flexibility to customize designs without the limitations of setup costs or minimum order quantities. Each print binds directly to the substrate, providing long-lasting durability and vibrant colors that remain vibrant even after several washes.
For beginners, understanding the basics of DTF printing is crucial. The fundamental requirement is a quality DTF printer that can handle the specific film and ink types used in this process. Additionally, the design must be created with precision, often using graphic design software, ensuring it fits the intended application. DTF printing has turned into an effective solution for both hobbyists embarking on DIY projects as well as small business owners looking for an economical yet professional printing solution.
Materials Needed for DTF Transfers
Before commencing with DTF transfers, it’s vital to gather all necessary materials to ensure a seamless printing experience. The core items include a DTF printer, special DTF film, TPU-based inks, and a heat press machine. Each of these components plays a significant role in the transfer process, affecting the final outcome. The DTF film acts as the medium that will carry your design, while the TPU inks are formulated specifically for adherence to fabric, offering durability and vibrancy in your prints.
Additionally, consider optional supplies like graphic design software and weeding tools. The former helps in designing and editing images effectively, while weeding tools are essential for removing excess film after the printing process. These materials not only streamline the process but also enhance the quality of the transfers you can produce. Investing in the right materials can significantly improve the experience and outcome of your DTF projects.
Step-by-Step Guide to Creating Your Design
Creating a design for DTF transfers is an exciting part of the process, as it allows for endless creativity. Start by using graphic design software to create your unique image. Pay special attention to the size of your canvas so that it matches the dimensions required for printing. For vibrant results, incorporate bold colors and intricate details. Once your design is complete, don’t forget to mirror the image before printing; this is a crucial step since DTF transfers are applied in reverse, ensuring that they appear correctly on fabric.
When saving your designs, opt for image formats like PNG or TIFF that retain high quality. Clarity is key to achieving stunning DTF designs, so choose vibrant graphics that will stand out. By following these design principles, you can craft eye-catching visuals that perfectly express your creativity, ready to be transformed into beautiful DTF transfers.
Printing Your DTF Transfer Effectively
The printing stage is where your carefully crafted designs start coming to life through DTF transfers. Begin by loading the DTF film into your printer according to the manufacturer’s specifications. Make sure the coated side of the film faces the correct direction to avoid printing errors. Adjust printer settings for optimal quality; using a high-resolution mode and ensuring the ink settings align with your DTF inks can make a significant difference in the outcome.
After loading the film and verifying the settings, print your design while monitoring for any potential issues, such as paper jams or ink quality. Following your print job, it’s essential to apply adhesive powder while the ink is still wet. This step is pivotal, as it helps the ink bond with the film and prepares it for a smooth transfer to the fabric. Always strive for an even application of powder to ensure consistent results.
Curing Your DTF Transfer Film
Curing the printed DTF film is a critical role in the transfer process. This stage activates the adhesive, enhancing the bond between the ink and the film. Utilizing a heat press or convection oven, set your equipment to the advised temperature—typically around 320°F (160°C)—and time—usually between one to two minutes. It’s vital to adhere to these specifications to avoid damaging your print and ensure effective curing.
Improper curing can lead to issues like poor adhesion on fabric, resulting in a transfer that may peel or crack. Therefore, properly curing your DTF transfer film is necessary for achieving long-lasting, high-quality prints ready for application on various substrates. Taking time to master this step can greatly influence the durability of your final product.
Troubleshooting Common DTF Transfer Issues
Troubleshooting is an integral part of creating DTF transfers, as issues can arise during various stages of the process. For instance, if designs fail to adhere properly to the fabric, this may stem from inadequate application of adhesive powder or insufficient curing time. Ensuring that you monitor each step closely and applying adhesive evenly are key solutions to this common problem.
Moreover, maintaining ink quality throughout the printing phase is crucial to prevent fading. Utilizing high-quality DTF inks can aid in achieving vibrant colors that withstand washing and wear. Additionally, keep a close eye on heat settings during application; too high of a temperature can lead to cracked transfers. By identifying and addressing these common issues early, you can enhance your DTF printing skills and produce stunning, lasting results.
Frequently Asked Questions
How to create stunning DTF transfers at home?
Creating stunning DTF transfers at home involves a few steps: gather your materials which include a DTF printer, DTF film, DTF inks, a heat press machine, and adhesive powder. Start by designing your artwork using graphic design software. Print your design on DTF film, apply adhesive powder while the ink is wet, and cure it using a heat press. Finally, transfer the design onto your fabric, and enjoy your custom creation!
What materials do I need for DIY DTF transfers?
To successfully create DIY DTF transfers, you’ll need specific materials such as a DTF printer or an inkjet printer with a DTF kit, DTF transfer film, TPU-based DTF inks, a heat press machine, and adhesive powder. Optional tools may include graphic design software for designing your prints and weeding tools for intricate designs.
Can I use an inkjet printer for DTF printing at home?
Yes, you can use an inkjet printer for DTF printing at home as long as it’s equipped with a DTF conversion kit. This allows you to print high-quality designs on DTF film, making it easy to create stunning DTF transfers that adhere beautifully to fabric.
What are some tips for crafting stunning DTF designs?
To craft stunning DTF designs, start by selecting vibrant colors and intricate shapes using graphic design software. Make sure to mirror your design before printing so it transfers correctly. Experiment with different graphics and fonts to find a style that stands out. Practicing will help enhance your skills and results!
What troubleshooting steps should I take for DTF transfers not adhering?
If your DTF transfers are not adhering, first check that you are applying enough adhesive powder while the ink is still wet. Ensure that the print is properly cured with a heat source at the right temperature and for adequate time. Reassess the fabric type as well, as some materials may require specific settings.
How can I improve the durability of my DTF transfers?
To improve the durability of your DTF transfers, use high-quality TPU-based DTF inks and ensure proper curing during the process. After applying the transfer, consider a second heat press with Teflon or parchment paper to enhance the bond and provide a smoother, more durable finish.
| Section | Key Points |
|---|---|
| Introduction | DTF transfers enable custom clothing and crafts with vibrant, durable prints. It’s a versatile and cost-effective method for both hobbyists and small business owners. |
| Materials Needed | Essential items: DTF printer, DTF film, TPU-based inks, heat press machine, and adhesive powder. Optional items include graphic design software and weeding tools. |
| Creating Your Design | Use graphic software to design, mirror the image, and save it in compatible formats (PNG or TIFF). |
| Printing the DTF Transfer | Load DTF film, adjust printer settings for high-quality output, print the design, and apply adhesive powder while ink is wet. |
| Curing the Printed Film | Use heat press or convection oven to cure the printed film at 320°F for 1-2 minutes to activate adhesive. |
| Applying the DTF Transfer | Prepare fabric, position the print adhesive side down, apply the heat press, let it cool, and peel off the film. Optional second press for durability. |
| Troubleshooting Common Issues | Common issues include design not adhering, fading colors, and cracking transfers. Solutions involve checking adhesive application and printer settings. |
Summary
DTF transfers are an innovative way to create customized designs right at home, enhancing the appeal of your clothing and accessories. With a few essential materials and a straightforward approach, you can bring your artistic visions to life. This guide covers every step, from gathering supplies to troubleshooting issues, ensuring that both beginners and experienced crafters can successfully create vibrant, high-quality DTF transfers. By investing time in practice and utilizing the detailed instructions provided, you’ll quickly unlock the full potential of DTF printing in your DIY projects.