
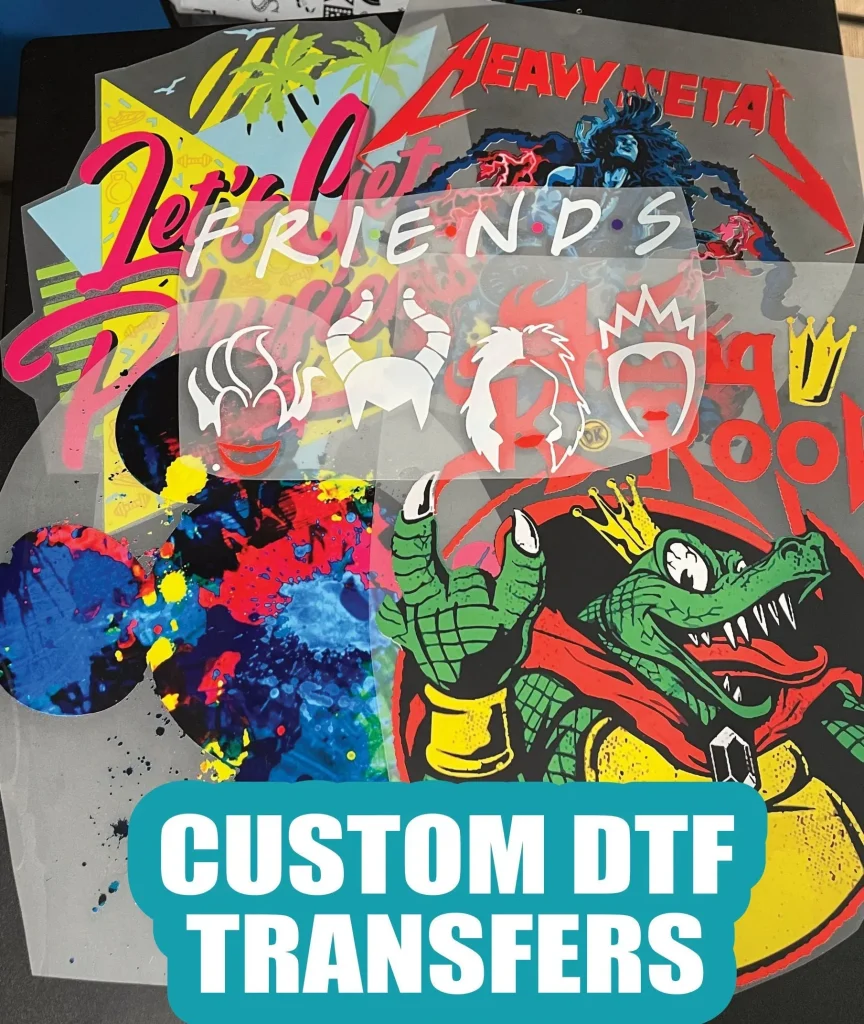
DTF transfers, or Direct-to-Film transfers, are transforming the way designers and crafters approach fabric printing, enabling them to create stunning, high-quality designs with ease. This innovative technique involves printing graphics on a specialized film before transferring them onto various fabrics using heat and pressure, making it perfect for personalized merchandise and apparel. However, to achieve the perfect DTF transfers consistently, one must understand and apply several best practices. In this guide, we will share essential DTF printing tips that can dramatically improve your transfer outcomes. From material selection to mastering the DTF transfer process, get ready to elevate your printing skills to the next level.
In the realm of textile decoration, Direct-to-Film transfers, commonly referred to as DTF transfers, signify a game-changing approach to applying intricate designs onto fabric. This method leverages the process of printing images on a unique film that is then applied to the chosen textile, ensuring vibrant and durable results. As you delve into the world of DTF printing, understanding the nuances of this technique can enhance your artistic capabilities. Whether you’re an experienced printer or a novice looking to learn how to DTF transfers effectively, implementing the best DTF printing practices will help you maximize your creative potential. With a focus on quality materials and the right technical skills, achieving beautiful and long-lasting DTF transfers is within your reach.
Understanding the DTF Transfer Process
Direct-to-Film (DTF) transfers have gained traction due to their unique method of printing designs onto a plastic film that is then heat pressed onto fabric. This innovative approach allows for incredibly vibrant and detailed prints, making it a favored choice among textile printers. By understanding the DTF transfer process, from the initial printing of the design to the final application on various fabrics, you can significantly improve your results.
The DTF transfer process starts with selecting the right DTF film and inks, which play a crucial role in achieving the desired outcome. After printing your design onto the film, it is essential to use appropriate heating methods to ensure the ink adheres effectively to the fabric. Following each step meticulously can transform your printing experience and yield fantastic, long-lasting results.
Best DTF Printing Practices for Quality Results
To achieve outstanding DTF transfers, following best practices in your printing process is essential. Start by selecting the right equipment, including a compatible printer and high-quality DTF transfer films. A well-calibrated printer capable of achieving high resolutions will ensure your designs maintain clarity and color accuracy, which is paramount for vibrant results.
Additionally, always maintain your printer for optimal performance. Regular cleaning and adjustments can lead to improved print quality and consistency. Pay close attention to maintaining the correct ink density and print speed, as these factors can greatly influence the outcome of your DTF transfers. Implementing these practices will ensure that your prints are not only visually appealing but also durable.
Tips for Selecting Perfect DTF Films and Inks
Choosing high-quality materials is a critical part of the DTF printing process. The type of film and ink you select can dramatically affect the adhesion and vibrancy of the design. When looking for films, focus on those designed specifically for DTF applications, as they offer better adhesive qualities and are more compatible with a range of fabric types.
Inks also play a vital role in the success of your DTF prints. Opt for brands that offer bright, rich colors and have a reputation for wash fastness. This is especially important if you are creating apparel that will be worn frequently. The right combination of film and ink can make all the difference between a vibrant transfer that lasts and one that quickly dulls.
Essential DTF Printing Tips for Designers
When designing graphics for DTF transfers, precision is paramount. Use vector graphics or high-resolution images to ensure that every element of your design translates beautifully during the printing process. High DPI (dots per inch) is key; aim for at least 300 DPI to guarantee that the final output has sharp, clear details.
Additionally, pay attention to color settings in your design software. Utilizing CMYK color mode can help you achieve a more accurate color representation for your printed designs. Contrast is another critical factor, especially against the fabric background. High contrast not only enhances visibility but also makes the design pop, creating eye-catching apparel.
Mastering Your DTF Printer Settings
Every printer has unique settings that can significantly impact your DTF transfer outcome. It is crucial to familiarize yourself with your specific printer model to make the most of its capabilities. Adjust the print speed based on the complexity of your design; slower speeds often yield better details and color saturation.
In addition to print speed, monitoring ink density is essential. Adjusting ink density settings can prevent issues like ink bleeding or insufficient coverage that affect the quality of your DTF transfers. Finding the right balance in these settings can dramatically enhance your printing process.
Optimizing Heat Press Settings for DTF Transfers
Heat pressing is a crucial step in the DTF transfer process that requires careful calibration. Setting your heat press to the correct temperature is vital; typically, a range of 320°F to 350°F (160°C to 180°C) works best for most films. Ensure that you test batches to find the ideal temperature that facilitates proper adhesion without damaging the fabric.
Moreover, pressure plays a significant role in the quality of transfers. Too much pressure can compromise the design, while too little might cause peeling. Monitoring pressing time is equally important, as the bonding process requires a specific duration to ensure that the ink cures properly, enhancing the longevity of your DTF designs.
Frequently Asked Questions
What are the essential tips for perfect DTF transfers?
To achieve perfect DTF transfers, it’s crucial to focus on five key areas: use high-quality DTF films and inks, design with precision using high-resolution artwork, master your printer settings for optimal output, optimize your heat press settings for proper adhesion, and apply effective curing techniques to enhance durability.
How should I prepare my design for DTF transfers?
When preparing your design for DTF transfers, ensure it is high-resolution (at least 300 DPI), uses bright colors for contrast against fabric, and is saved in appropriate file formats such as PNG or TIFF to maintain quality during printing.
What printer settings are best for DTF transfers?
For DTF transfers, your printer settings should include a slower print speed for better detail, appropriate ink density to avoid saturation issues, and calibration based on the type of fabric you are using to ensure optimal color coverage.
What are the recommended heat press settings for DTF transfers?
The optimal heat press settings for DTF transfers typically range from 320°F to 350°F (160°C to 180°C) with a pressing time of 10-15 seconds. It’s important to apply the correct pressure—too much or too little can affect adhesion quality.
How can I ensure the durability of my DTF transfers?
To ensure the durability of your DTF transfers, perform proper curing after pressing by following the manufacturer’s instructions. A second press at a lower temperature (around 280°F) for a few seconds can help solidify the adhesive and enhance longevity.
What are common mistakes to avoid in the DTF transfer process?
Common mistakes in the DTF transfer process include using poor-quality materials, improper printer settings, failing to adjust heat press temperature and time correctly, and not following the recommended curing techniques, all of which can lead to peeling or faded designs.
| Tip Number | Key Points |
|---|---|
| 1 | Select high-quality DTF films and inks for optimal adhesion and color vibrancy. |
| 2 | Design with high resolution (300 DPI), contrast, and use the appropriate file format (PNG or TIFF). |
| 3 | Master printer settings: slower print speeds and proper ink density improve quality. |
| 4 | Optimize heat press settings: temperature, pressure, and pressing time are crucial for adhesion. |
| 5 | Ensure proper curing techniques to solidify adhesive and enhance durability of the transfers. |
Summary
DTF transfers have transformed how fabric printing is approached, providing vibrant, detailed designs with minimal effort. By following these top five tips, such as prioritizing high-quality materials, mastering design and printer settings, optimizing heat press parameters, and implementing effective curing techniques, you can achieve consistently excellent results with your DTF transfers. These practices not only enhance the visual appeal of your printed fabric but also ensure durability and longevity, making your DTF projects truly stand out.